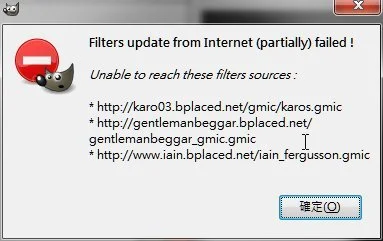
這邊介紹用的是G'MIC gentlemanbeggar 的 Lens Blur,不過如果你按G'MIC裡的更新(重新整理)
最後也跟我一樣出現以下的錯誤訊息(主要是其中的gentlemanbeggar_gmic.gmic)
那表示你也可能無此濾鏡,需手動下載設定
( GIMP 2.8.4 可攜式版本 已包含此濾鏡,歸類在 Testing 底下)
首先新建一文字文件 gentlemanbeggar_gmic.gmic
到此 http://www.flickr.com/photos/53229621@N02/5738002225/
複製網頁The code:之後的 source,然後貼到剛新建的文字文件裡
然後將此 .gmic檔複製或移到系統 %APPDATA% 所指的資料夾裡
(如果不知道%APPDATA% 所指的資料夾,可以搜尋系統碟裡的.gmic檔)
如果一切正確無誤,就可以在 G'MIC 裡找到此濾鏡 「Gentlemanbeggar」 -> 「Lens Blur」
原圖
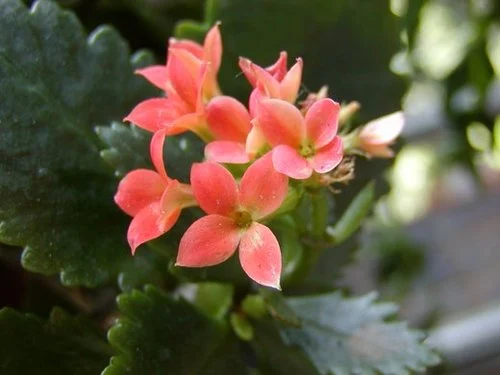
用選取工具選取欲做散景的區域
然後對此選區套用 G'MIC 濾鏡裡的 「Gentlemanbeggar」 -> 「Lens Blur」
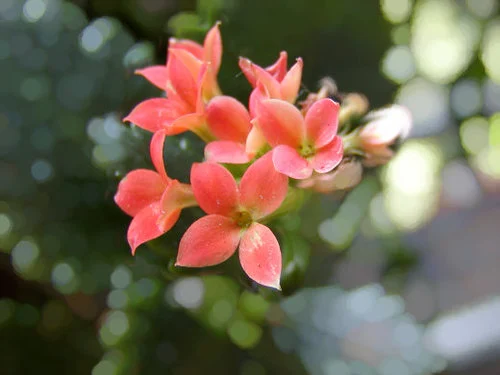
這是大概的做法,之前有講過突顯主題,是一樣的東西,只是表現的效果不同,所以就不重複說明了
完成圖
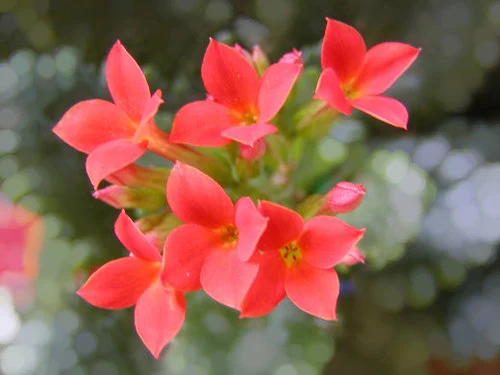
另一張
原圖
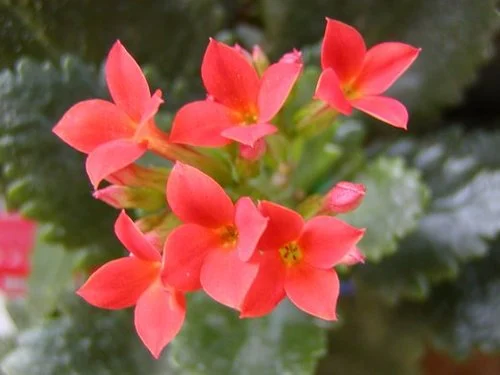
完成圖
沒有留言:
張貼留言